Thursday, March 1, 2012

DIY :: How To Make Rose Petals


Want to recreate your own rose petals for your wedding? These can be used as confetti or for decorating the wedding aisle or the tables. You can purchase rose petals from Far East Flora directly but if you want a specific color to match your wedding theme, then you will have to make them yourself. 

It isn't a difficult task though. My 6 year old son became quite efficient at removing the petals from the stalk after one lesson so I am sure you will be up to the task.


Step 1: Purchase flowers from a wholesale florist


Step 2: Lay out newspaper on the table. This makes clean up a breeze.


Step 3: Pluck the rose off the stem 


Step 4: Press down on the stem and pry it off the back of the rose. 


Step 5: Loosen the remaining roses and store them in a cool place until ready for use.


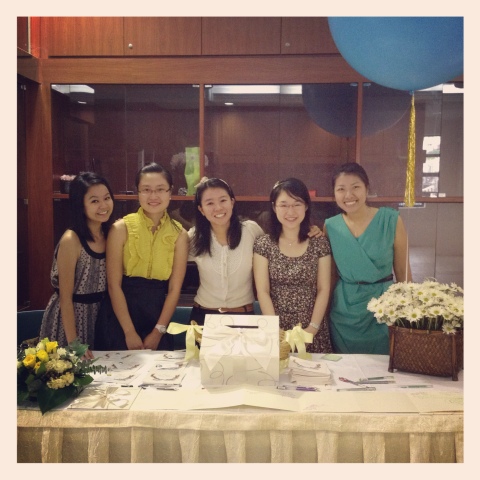
Here is a photo of me with the wedding decor helpers who were such quick and cheery workers. Notice the difference between the aisle without the flower petals and with. It is a simple diy that achieves a really complete look.


* I used 4 bunches of yellow roses and 4 bunches of white roses for the aisle pictured.

Thursday, February 23, 2012

Meaningful Weddings :: Yellow & Turquoise Theme

:: The Welcome Table ::

The wedding that I am sharing today is an extra special one. Not only because, the bride, Chew Chern is an extra special lady friend of mine but the groom is from my church community group. He is a real gentleman who is thoughtful and sensitive to the people around him.   I couldn't be happier for Chew Chern who truly deserves the best! 

When Chew Chern asked if I could help out with the wedding decor, I told her that I would have been offended if she didn't ask me. Okay, I was kidding but suffice to say, I was really excited to be involved. She had chosen yellow and blue as her wedding theme colors. Yellow certainly matched her cheery personality and Blue was Stuart's favorite color. She asked me to help decorate the pews and the welcome table so I focused on those two areas. 
  
:: The Ladies at the Welcome Table ::

The angbao box and the guest book were purchased and I embellished them with a personalized pushpin. Sorry, I forgot to take a close up photo of that. Behind the angbao box is a basket simply tied with yellow ribbons where the wedding favors lay. (More on that in another post). I tied the ginormous blue balloon to the basket full of daisies and added gold streamers for that glittery effect. I must say I love it when helpers are dressed in matching colors!

Pew Decor :: Daisy Cones

For the pews, I decided to make daisy cones which were incredibly cost-effective. We reused the turquoise organza from another friend's wedding. and attached the daisy cones to the pews. 

Pew Decor :: Personalised Pushpins

We alternated this with yellow ribbons and pressed a personalized pushpin into each one for that extra special touch. 

:: Church Pew Decorations :: 

So there we go, a quick look at the decorations. Did you like it? To be honest, it all came together at the last moment. I had a really excellent team of helpers who were Chew Chern's friends and we put it all together the night before the wedding. I really loved the final effect, especially with the rose petals strewn down the aisle. 

If you wanna find out how to create your own rose petals, stay tuned for a diy coming up next.

Wednesday, December 1, 2010

DIY :: How to Make a Bunting


I am sure you have seen buntings all over the blog space and often, they are made out of fabric. For my friend's wedding, I decided to use scrapbook paper (which I printed off my laser printer). Okay, so it doesn't have the same fluttering effect but these were gonna be used indoors along the pew aisle and would not be fluttering anyway.

This DIY is super easy.

Materials:
- patterned paper (printed or purchased)
- ribbon
- hot glue gun

Instructions:
1. Cut the paper into triangles. I measured and drew lines in pencil on the back of the paper and roped loads of helpers to help with this step.
2. Lay out the patterned paper in stacks in a line 
3. Apply hot glue to the top of the triangle and press the ribbon on to the edge. 
4. Continue with the next triangle until you have none left!

I found working with paper to be much easier than with fabric and cheaper too. 

Try it and let me know how it goes!

Monday, November 1, 2010

DIY :: How to Make a Pinwheel


pinwheels to line the church aisle

Pinwheels are such a fun and inexpensive way to decorate with color. 

My secret tip for keeping it inexpensive is to purchase digital scrapbook paper that matches the wedding theme and then print away. 

I had loads of fun coming up with different double-sided combinations.

Creating a pinwheel is super easy.

Materials:
- a square piece of patterned paper
- brad fastener
- balloon sticks (optional)

* You can purchase scrapbook paper but I prefer to print it out as I need.

Instructions:
1. Fold the paper across diagonally such that it creates an X.

2. Cut 1/4 way along the diagonal line from each corner.

3. Using the brad, poke it through one corner.

4. Then poke it through another corner until you have poked through 4 corners.

5. Then insert it into the middle of the square piece of paper.

6. Flatten the legs of the brad to hold the pinwheel shape in place.

7. Fasten it to a balloon stick or ribbon and that's it!


corsages for the bridesmaids


boutonnieres for the groomsmen


close up of the pinwheel corsage

Sunday, October 17, 2010

Real Weddings :: Vintage Carnival Theme


Working with two little boys running all around is not an easy task but thankfully, with my husband's help, we managed to pull everything together before the guests arrived. Apologies in advance for the poor photography.


Colourful pinwheels and flowers in vintage tins


Carnival-themed guestcards & pink rose-topped pens for guests 
to pen down their well-wishes to the couple.


More floral arrangements in vintage tea tins placed
alongside a musical carousel to create a truly whimsical look 


Guests posing at the Photobooth
(set up by the husband)

Saturday, October 16, 2010

Real Weddings :: Vintage Carnival Theme


pinwheels to line the church aisle

Last July, I was roped in to help a good friend create decorations for her church wedding ceremony. 

She wanted a vintage carnival feel to the wedding and so I tried to incorporate pinwheels, buntings and i also designed a number of images that were used on the guestcards, powerpoint slides and the wedding programme. 

The theme was such fun to work on and I also won't pretend that I didn't LOVE the colours that they chose - fuschia pink, orange and lime green. The palate just seemed to shout spring and all things happy and vibrant. 

I had a great time working on this wedding project, can you tell?  really had to reign myself in on this one.

Here are some snapshots at the wedding decor that I helped prep.


guest cards for guests to write well-wishes on


corsages for the bridesmaids


creating the bunting that is to be draped down the church aisles


boutonnieres for the groomsmen


close up of the pinwheel corsage